


Low-Carb, Gluten-Free Bread

Low-Carb, Gluten-Free Seeded Bread
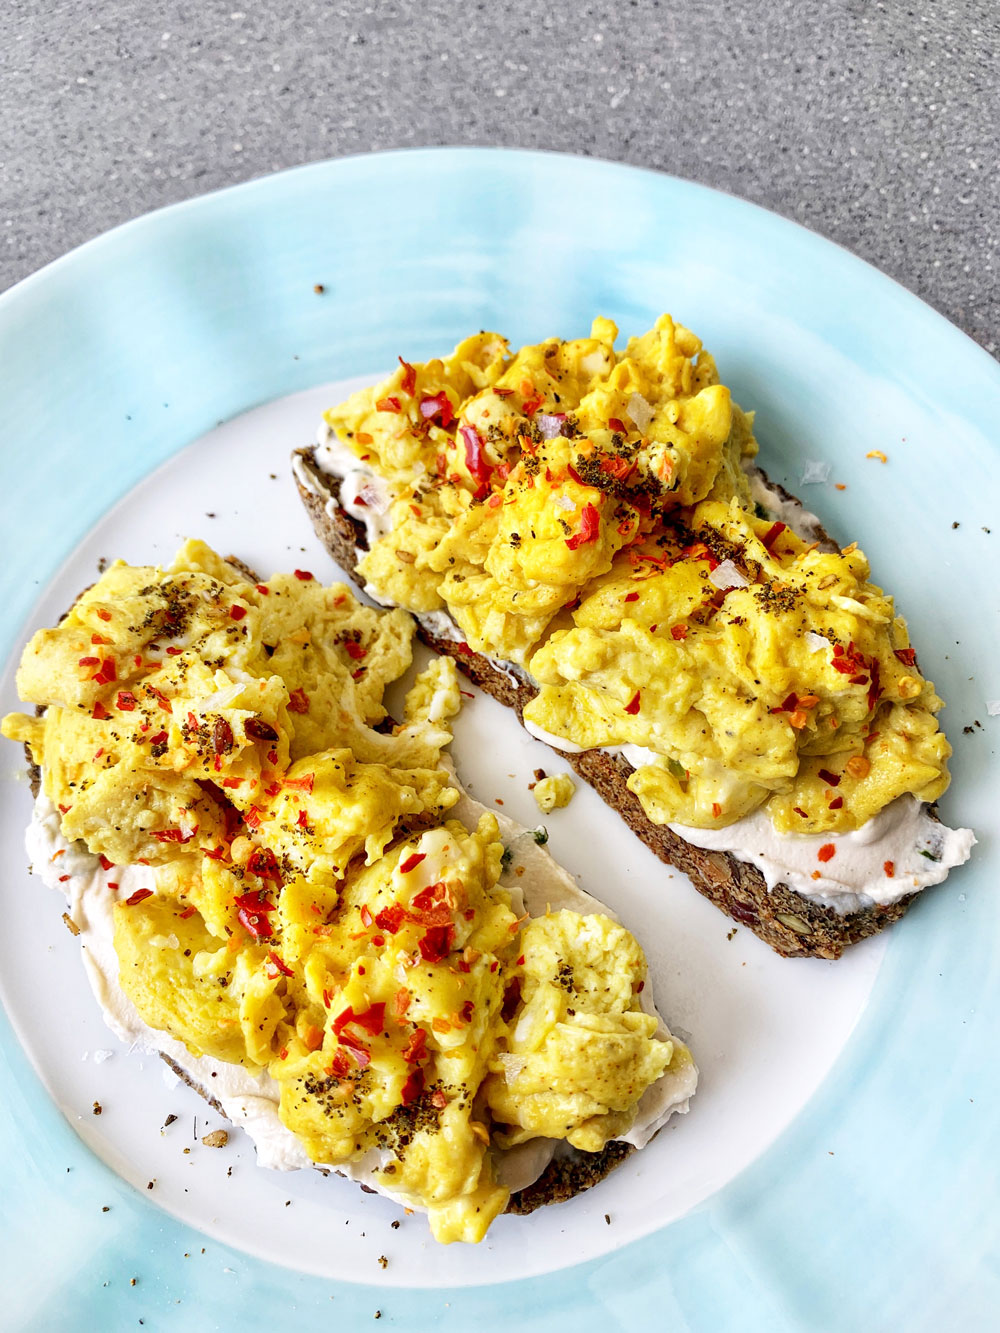
Due to the ingredients of the bread, you will be adding extra fiber and protein to your morning toast. Each slice provides you with 105 calories, 4g carbs, 3g fiber and 4g protein. I adapted the recipe for the bread from Dr. Pouria, one of my doctors who has been helping heal my hives. It is my go to bread to have on hand when I am home. Sometime when I make it, I slice it and freeze half of it. That way, I can pull out a slice or two from the freezer whenever I want and toast it. You can also try it with my soft scrambled eggs – tastes divine!
Yields 18 slices
INGREDIENTS
- 60 grams of whole linseed (use dark or golden linseed grains or a mixture)
- 80 grams of sunflower seeds (plus a handful of WHOLE sunflower seeds set aside to add to ground seed mix before stirring in water to make dough)
- 80 grams of pumpkin seeds (plus a handful of WHOLE pumpkin seeds set aside to add to ground seed mix before stirring in water to make dough)
- 40 grams of sesame seeds (plus a handful of WHOLE sesame seeds set aside to add to ground seed mix before stirring in water to make dough)
- 40 grams of chia seeds
- 5 grams of psyllium husks
- 6 grams of unrefined rock or sea salt
- Dollop of coconut oil
DIRECTIONS
Avoid commercially ground seeds as the flour may not be fine enough and the seeds will have absorbed moisture which will affect the quality of the dough. Weigh the ingredients accurately in order to get the right proportion of water to seeds. No raising agent is required.
- STEP 1. Weigh the ingredients one by one and add them to a bowl. Pour the mix into the Nutri- bullet/grinder, filling half of it. Grind into fine flour. The flat blade produces the finest flour. Grind until the machine starts to groan and sweat with the effort! Pour the flour into a mixing bowl. Repeat the step above until you ground all of the mix and add it to the mixing bowl.
- STEP 2. Add the handful of the un-grounded sunflower, pumpkin and sesame seeds to the mix.
- STEP 3. Add in between 270-300 ml water all in one go by using preferably lukewarm water or water at room temperature; do not dribble it in. Stir it with a wooden spoon and keep stirring. It will thicken over the course of 30 seconds. Keep stirring until it becomes sticky and holds together in a lump. Initially it will look as if you have added far too much water but keep stirring.
- STEP 4. Use your fingers to scoop up a dollop of coconut oil. Use this to grease the baking tin. Your hands will be covered in fat which means you can pick up your sticky dough without sticking to your hands. Use your hands to shape the dough until it has a smooth surface. Drop it into the greased baking tin. Spend about 30 seconds doing this. Do not be tempted to knead or fold the loaf or you introduce layers of fat which stop it sticking to itself. This helps prevent the loaf cracking as it rises and cooks.
- STEP 5. Let the loaf ‘rest’ for a few minutes so it fully absorbs all the water and becomes an integral whole. This is not critical but allows enough time to rub any excess fat into your skin, where it will be absorbed. There is no need to wash your hands after doing this – the basis for most hand creams is coconut oil!
- STEP 6. Put the loaf into the middle rack of a hot oven – at least 180-200°C (approx. 390°F) – for 60 minutes. Ideally place a sheet of parchment paper so that the top of the loaf doesn’t burn. Set a timer. The oven must be hot enough to turn the water in the loaf into steam because this is what raises it. When the timer goes off, remove the baking paper form the top of the loaf and leave the loaf for another 5 minutes so that the top becomes slightly crispy. Take the loaf out of the oven, tip it out and allow it to cool on a wire rack.
- STEP 7. Once cooled, keep it in a grease proof paper bag (no need to keep it in the fridge). It lasts for a week or so and can be frozen in slices. It is best used sliced thinly with a narrow-bladed serrated knife.
Tools/Products Used In This Recipe:

Leave a Reply


